本文搜集整理于网络。
Introduction
制作:
Modern, easy DIY Head Tracker build that costs less than $30! – YouTube
https://www.youtube.com/watch?v=Q9Av10UxBEI
设置遥控器:
Head Tracker setup on OpenTX – Simple step by step – YouTube
开源项目地址:
Home · dlktdr/HeadTracker Wiki (github.com)
Head Tracker – Head Tracker (gitbook.io) (这里有详尽的安装指导)
Hardware Required
You will need a few items to build your own Head Tracker.
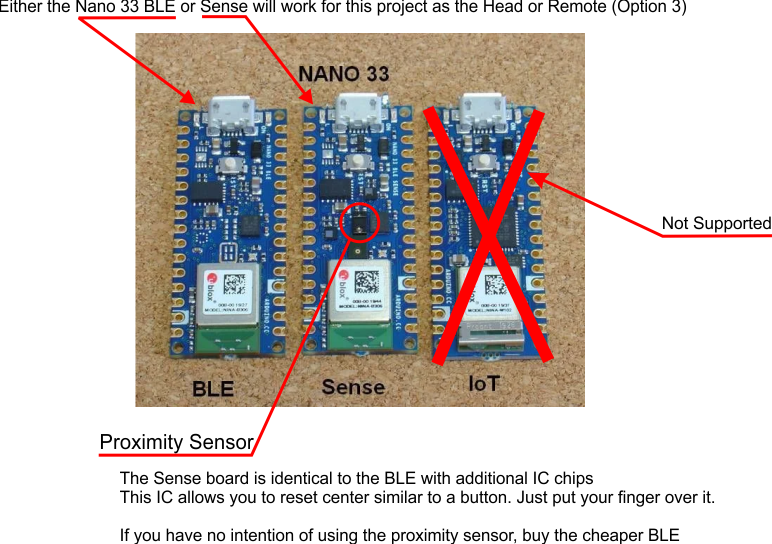
There are two variants of the Arduino Nano 33 BLE. The basic one and the “Sense” version. Both are identical PCB’s but the Sense has additional IC’s installed. The additional proximity sensor can be used instead of a physical switch to reset center.
They are available from many sources. Links below are to the basic Nano 33 BLE (NOT the sense version) https://www.digikey.ca/en/products/detail/arduino/ABX00030/10239969 https://www.newark.com/arduino/abx00030/nano-33-ble-dev-brd-arm-cortex/dp/67AH8871?st=nano%2033%20ble https://www.amazon.com/Arduino-Nano-33-BLE/dp/B07WV59YTZ?ref_=ast_sto_dp https://www.mouser.com/ProductDetail/Arduino/ABX00030?qs=PzGy0jfpSMtM79%2F5caqZLQ%3D%3D
Sense Part #ABX00031 Basic Nano 33 #ABX00030 You most likely don’t want the “with headers” version as this pins are pre-soldered to the board. The other version still comes with the headers, just not installed.
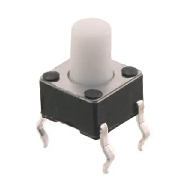
You will want to be able to line up the camera with the way you are facing. This is done by resetting the center with a button. If you bought the “Sense” version of the Arduino Nano 33 BLE then you can use the proximity sensor instead. Any normally open push button will work. Photo below is an example of a small tactile 6x6mm one.
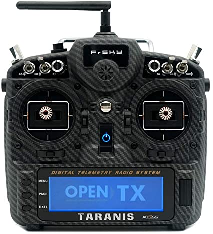
It must support Trainer input functionality (PPM, SBUS or Bluetooth). Most radios support trainer using a PPM w/3.5mm head phone connector. Please refer to your manual for functionality and proper connector.
-
Frsky
-
RadioMaster
-
Jumper
-
Radiolink
-
Spektrum
-
Flysky
-
Futaba
-
and many more..
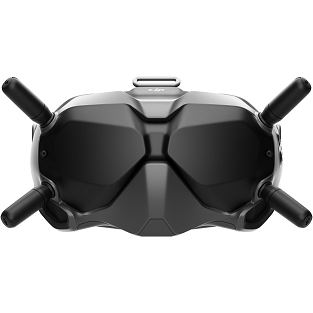
Any analog or digital FPV headset will work. Brands such as,
-
DJI
-
Fatshark
-
Eachine
-
and many more…
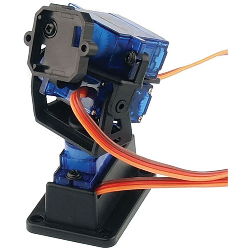
You will mount this on your plane / drone, which will translate your head movements into camera movement
Software Installation
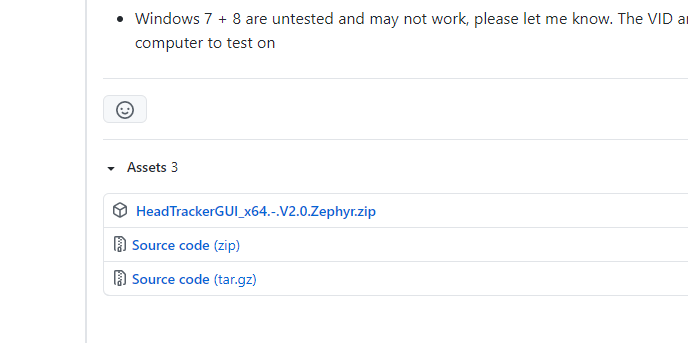
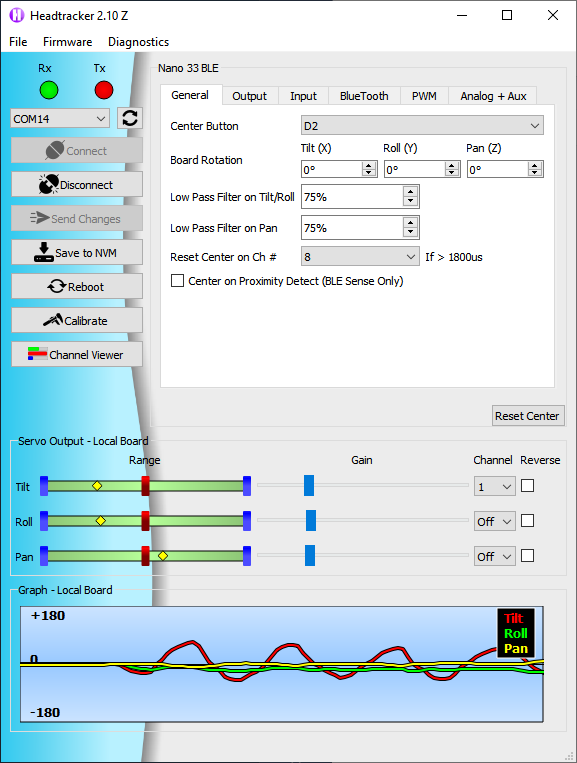
Right click on the saved .zip file and choose Extract All. Pick a folder to save it to. Open Headtracker.exe from this folder which will start the GUI (Graphical user interface).

Once the GUI is open the first step is to flash the firmware on your Nano(s) see Flash Firmware for guide.
以下是 Arduino Nano 33 BLE 板卡和 Arduino Nano 33 sensor,内容来自于此文:Arduino系列新增四款Nano板,包含WiFi、BLE、传感器以及硬件加密_Scratch少儿编程网 (china-scratch.com)
没想到淘宝上买那么贵,国内还没有对应的产品跟进。国外科技发展真快啊。
Arduino Nano 33 BLE板卡
- 无线模块–基于Nordic nRF52480 Arm Cortex-M4F单片机@64MHz,1MB Flash, 256KB RAM以及BLE5.0的U-blox NINA B306模块;
- 拓展–2×15-pin 拓展口包含GPIO,SPI,I2C,USART,PWM,ADC,DAC,复位,以及电源脚 (+5V, +3.3V,GND,Vin,AREF, …);
- 传感器–9轴加速度计,陀螺仪,磁力计;
- 调试–通过micro USB口,也支持6-pin SWD接口;
- 尺寸–与原来的 Arduino Nano兼容;
Nano 33 BLE跟其他同尺寸的板子相比有着更低的功耗使得他更适合可穿戴设备和运动传感项目。同时因为支持蓝牙5.0,这板子也成为一些自动化项目的理想选择。
Arduino Nano BLE Sense板卡
Arduino Nano BLE Sense基本与Nano 33 BLE相同包含有额外的传感器和硬件加密模块:
- 无线模块–基于Nordic nRF52480 Arm Cortex-M4F单片机@ 64MHz, 1MB Flash, 256KB RAM以及BLE5.0的 U-blox NINA B306 模块
- 拓展–2x 15-pin 拓展口包含 GPIO, SPI, I2C, USART, PWM, ADC, DAC, 复位, 以及电源脚 (+5V, +3.3V, GND, Vin, AREF, …)
- 传感器–9轴加速度计,陀螺仪,磁力计,温度,压力,湿度,光线,颜色,手势识别以及数字麦克风
- 硬件加密模块 – Microchip ATECC608A 安全加密芯片
- 调试–通过 micro USB 口, 也支持6-pin SWD接口
- 尺寸–与原来的Arduino Nano兼容
板载的额外的传感器使得这板子支持自动化应用和互动式可穿戴设备应用。


